Tutorials
Register for a portal account
Before building a BioCompute Object (BCO), please register an account first by following the listed steps:
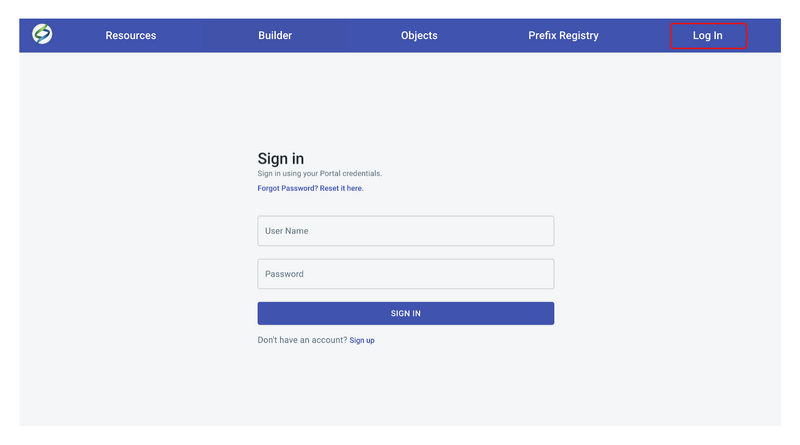
- Go to Log in on the header:
- Click on Sign up, and complete the requested information, including First and Last name, email, username, and password. Once finished, click on SIGN UP FOR PORTAL ACCOUNT.
- An activation email from object.biocompute@gmail.com should be sent to your entered email address. Click on the activation link from the email within 10 minutes to activate your BioCompute Portal account. Once activated, a new window should prompt open and indicate the activation status.
- Login to the Portal account using your username and password by clicking on SIGN IN.
Account information
Under Account, personal/account information can be modified. In addition, the users are able to change passwords, add servers, and edit Groups and Permissions.
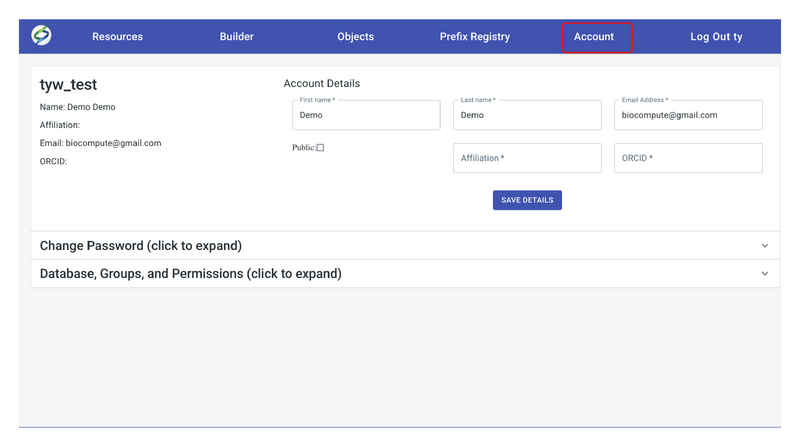
- After logging in, go to Account on the header:
- On the Account page, account details can be changed and the user can choose to make the information publicly by checking Public.
- To change passwords and modify Databases, Groups, and Permissions, click on the drop-down arrow on the right for each section.
Search for a draft and existing BCO
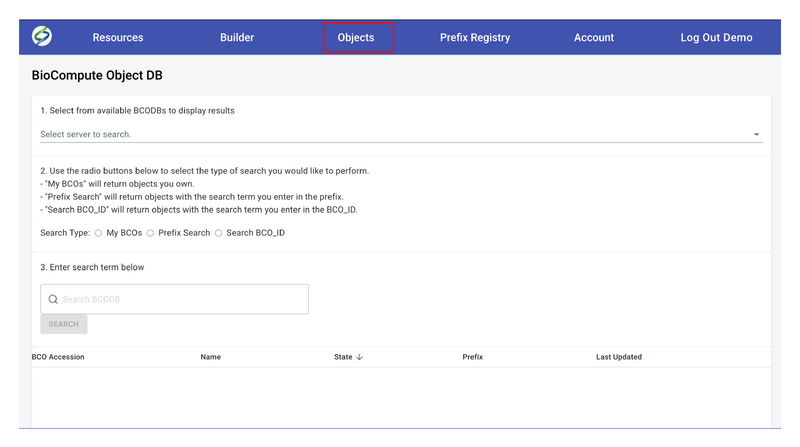
- Click on Objects on the header:
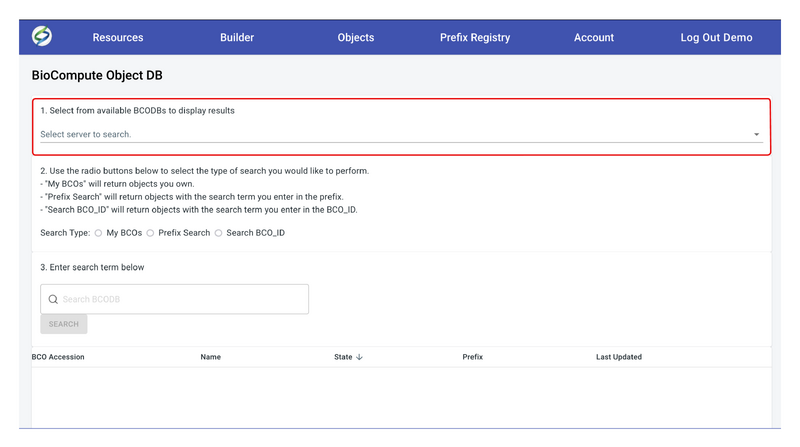
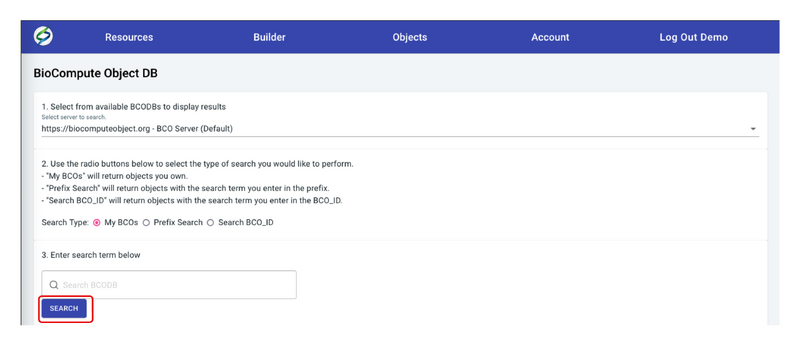
- Select a server by clicking on the dropdown arrow:
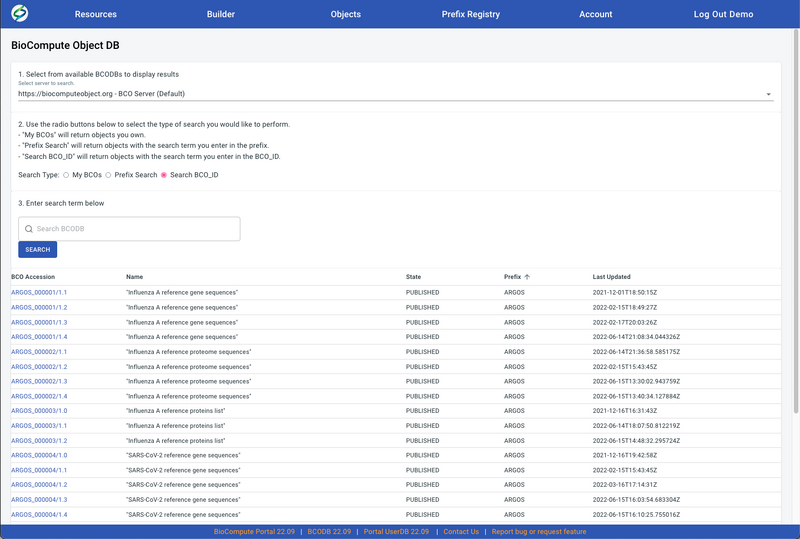
- Select Search Type. Three search types are available, My BCOs, Prefix Search, and Search BCO_ID. Once a Search Type is selected, the SEARCH button will lite up.
- Enter the search term in the blank field. This function is only available when doing a search by Prefix Search and Search BCO_ID to achieve a precise search. All BCO Accessions are clickable which will direct to the BCO.
Build a BCO
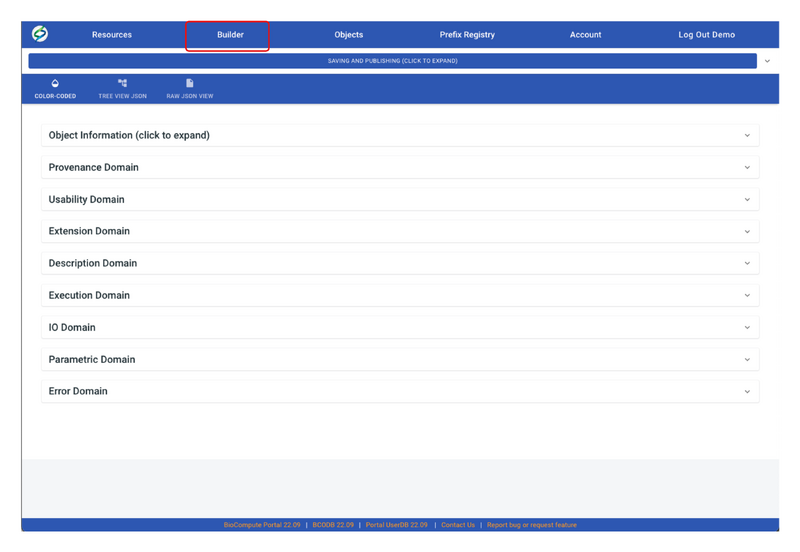
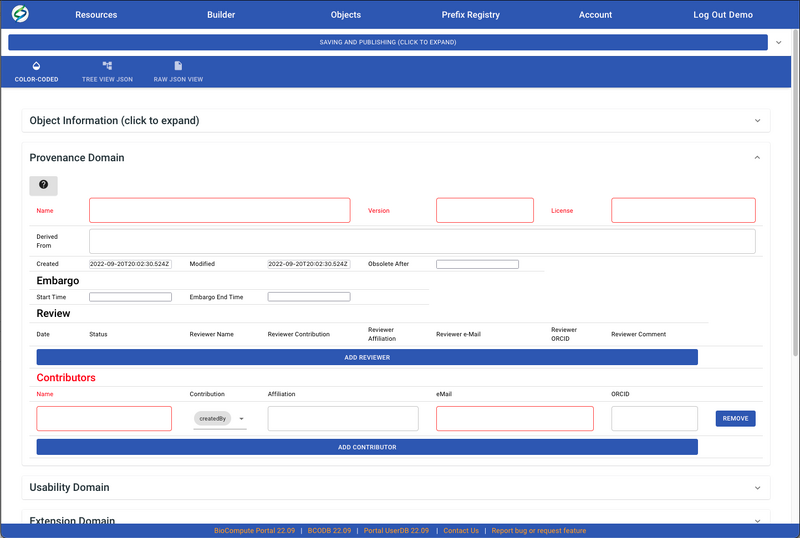
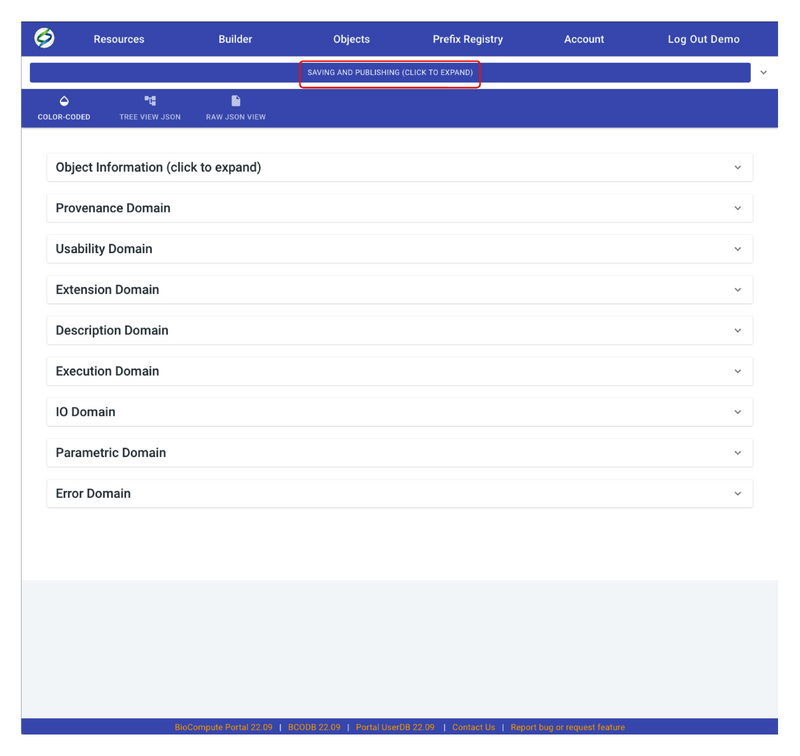
- Click on Builder on the header:Each domain can be expanded by clicking on the expand arrow.
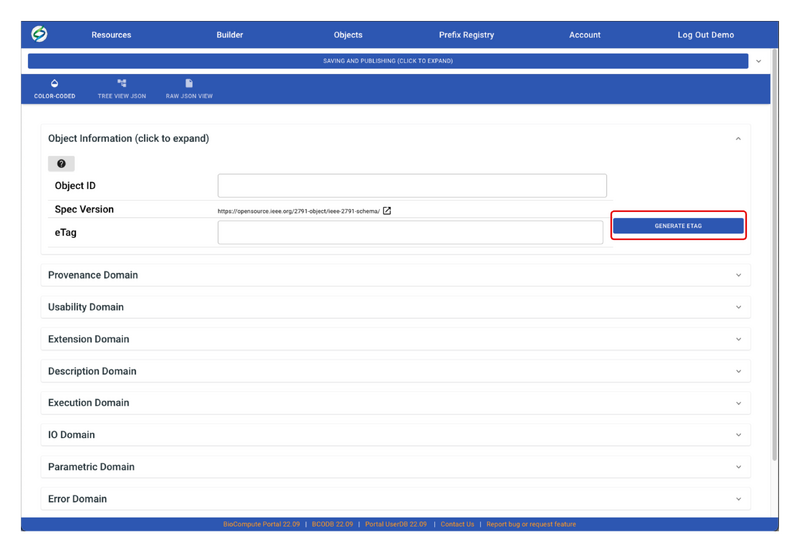
- Before creating a BCO, an eTag needs to be generated. To do so, click on the expand arrow in Object Information section, then click GENERATE ETAG. Do not worry about Object ID, it will auto-generate when saving the BCO draft.
- To begin filling out the BCO, click on Provenance Domain to expand the section. Fill out the information as needed. Red boxes are required fields, yellow boxes are recommended fields, and plain boxes are optional fields.
- For information to fill out each domain, please go to Provenance Domain, Usability Domain, Extension Domain, Description Domain, Execution Domain, I/O Domain, Parametric Domain, and Error Domain. Or, click on the question mark icon on each domain for more information.
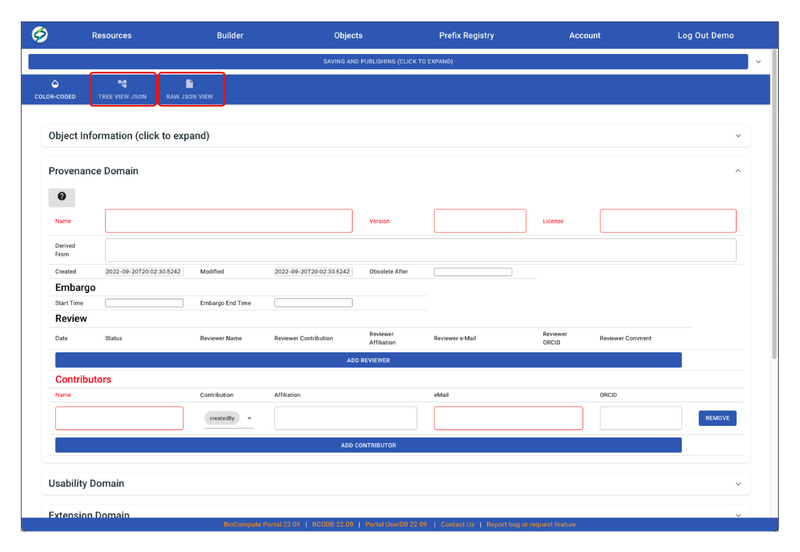
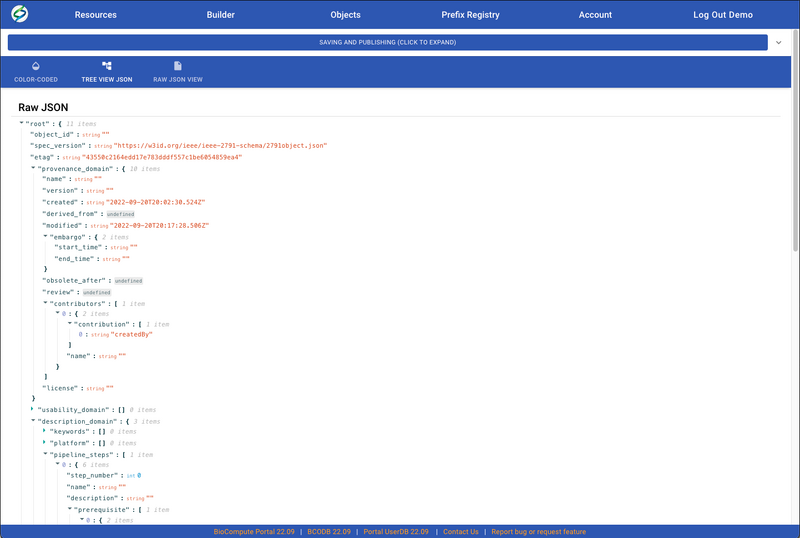
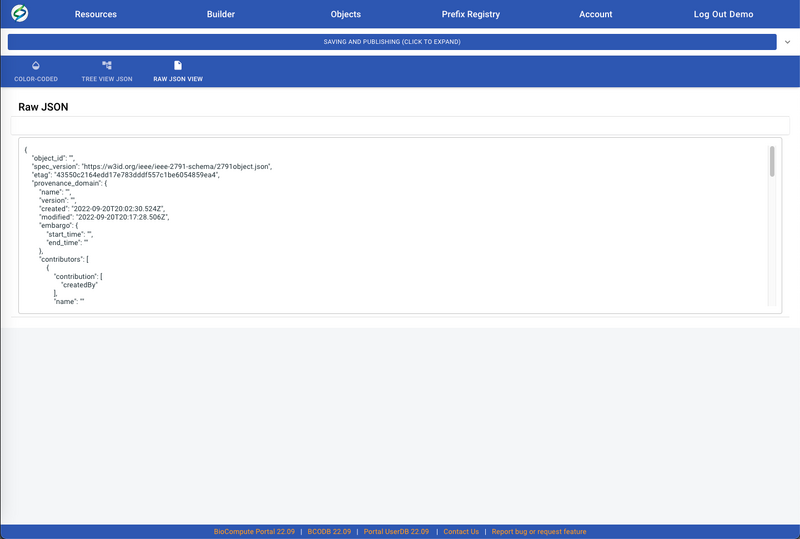
- User can also view/edit the BCO in JSON by clicking on either TREE VIEW JSON or RAW JSON VIEW.
- A BCO draft can be saved at any time of editing. In order to save a draft, go to the top of the page, and click on SAVING AND PUBLISHING.
- To save the draft properly, first choose a server to save the draft. Then the BCO prefix field will show up. Enter a specific BCO prefix based on user groups and permissions. The default prefix is BCO, which can be used by all users. Click on CREATE NEW DRAFT. If the entered prefix is not correct, an error message will pop up saying “Create Draft Failed” with a specific reason. Otherwise, the message will say “Create Draft Success”. Click OK on the message to return to the builder page.
- Once the new draft is created, the Builder page will refresh and generate an Object ID, which will show in the Object Information section. Continue to edit the BCO as needed.
- Once finish editing or need to save the draft again, go back to the top of the page, click on SAVING AND PUBLISHING, then click SAVE CURRENT DRAFT. A pop-up window will show up and indicate the draft is saved successfully.
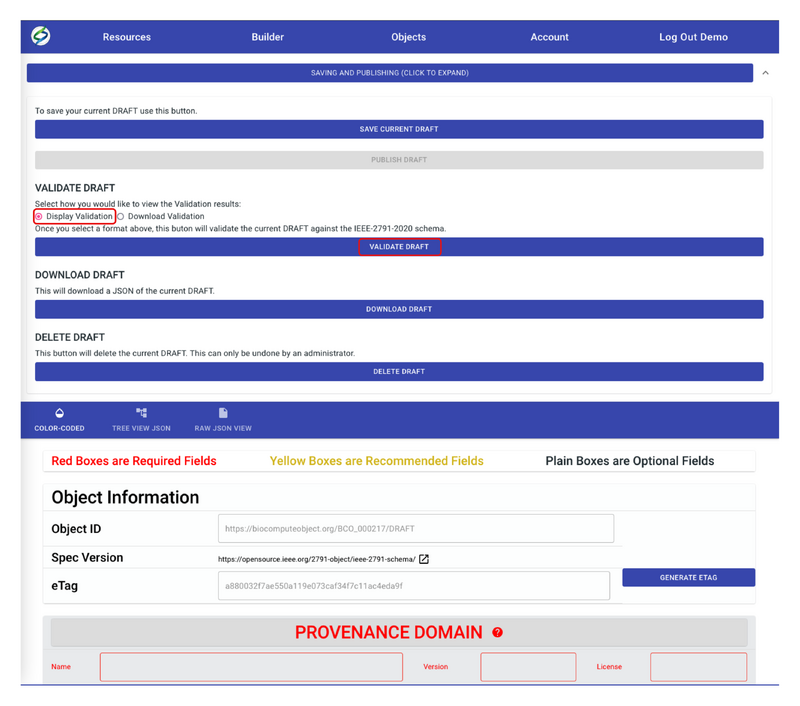
- Before publishing the draft, users need to validate the draft first. To do this, click on SAVING AND PUBLISHING. Choose Display Validation, then VALIDATE DRAFT. A new window will pop up with validation results.
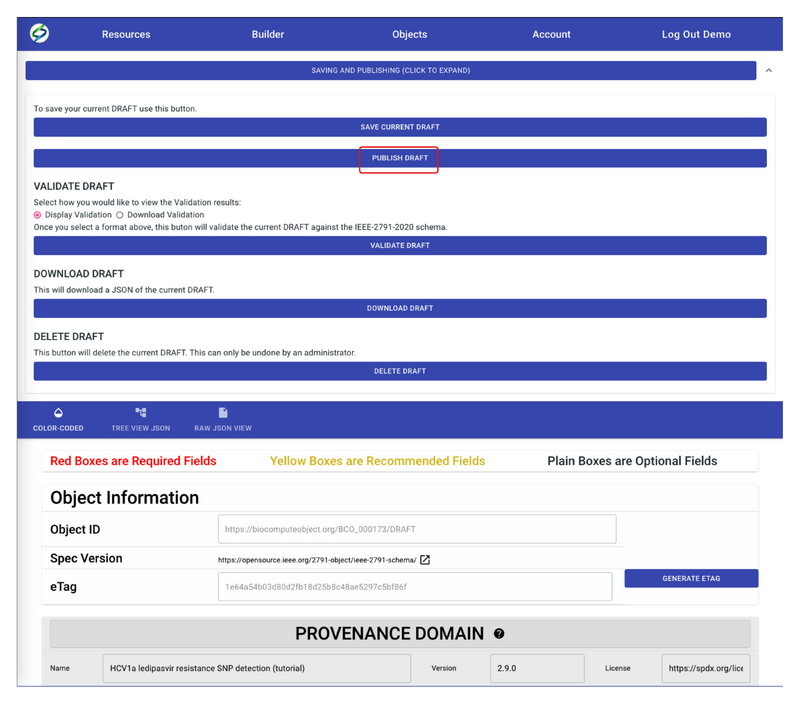
- If validation results show ‘“number_of_errors”: 0’, this means the draft has passed validation and it’s ready to publish. Go back to the Builder screen, now the PUBLISH DRAFT button should show up, click on it to publish the draft.
- If any errors were detected during validation, then correct those errors based on the validation results. Revalidation is needed before publishing.
- Other options on the Builder page include DOWNLOAD DRAFT in JSON format and DELETE DRAFT permanently.
