Prefix registration
To create a Prefix, see the following steps:
- Go to Prefix Registry on the Navigation Bar:
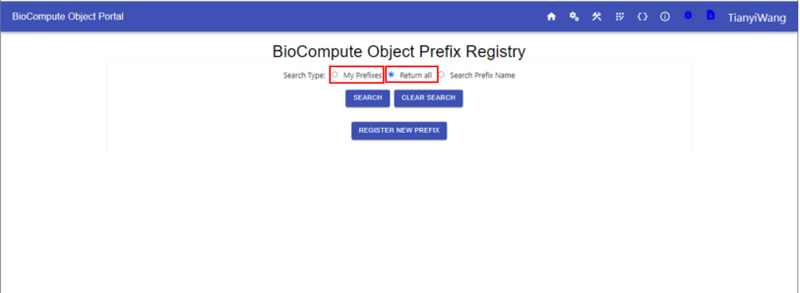
- On the Prefix Registry page, users can achieve both prefix search and prefix registration functionalities.
- Prefix Search: users can search prefixes in three ways: My Prefixes, Return all, and Search Prefix Name. Select the desired searching option. If chose Search Prefix Name, then enter the prefix name in the box below. Finally, click SEARCH to return results.
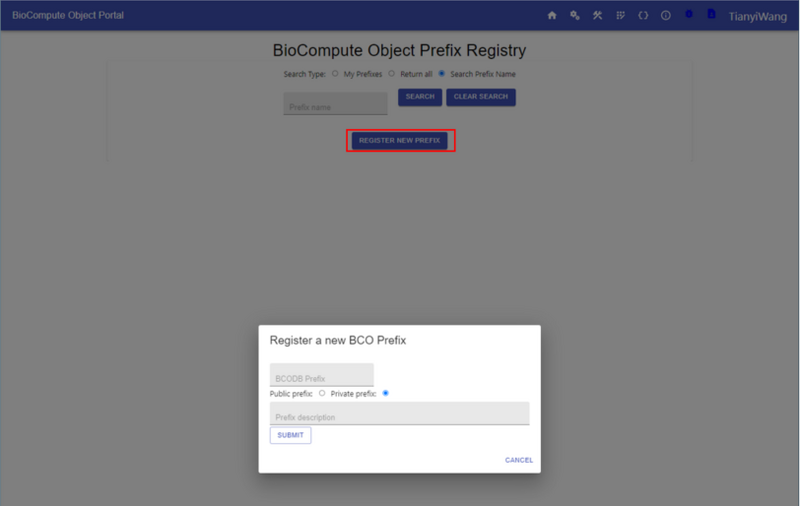
- To register a new prefix, click on Register New Prefix, enter the prefix name (5 character limits) and description, select to set it as either private or public prefix before SUBMIT.
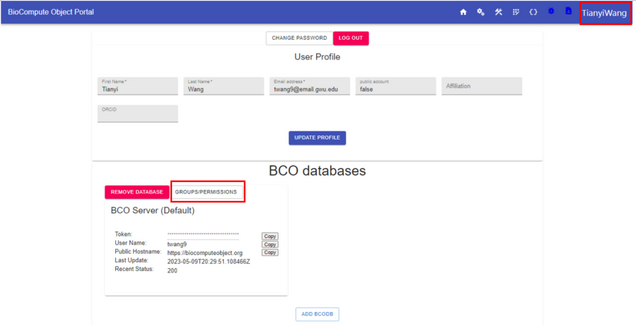
- Once submitted, users should be able to see the prefix under My Prefix search results. In addition, users can see the newly registered prefix in GROUPS/PERMISSIONS in your Account information.
Groups/Permissions (Note: only the prefix owner can add a new user to a specific prefix)
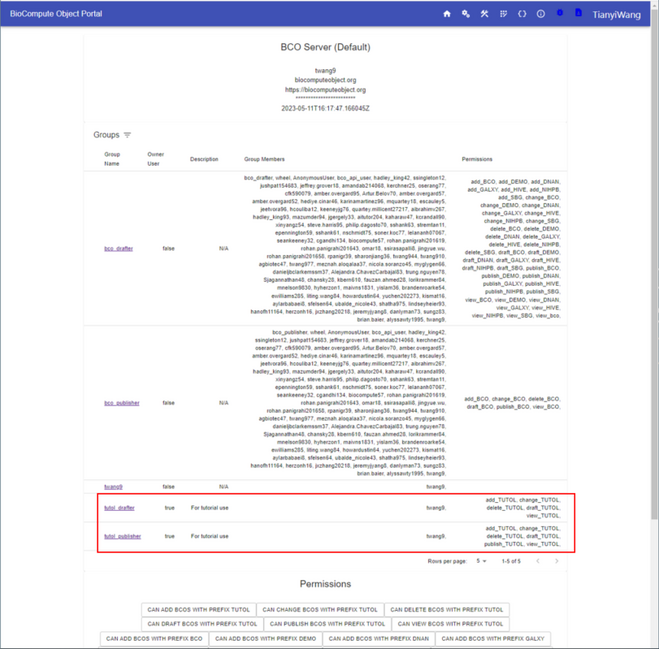
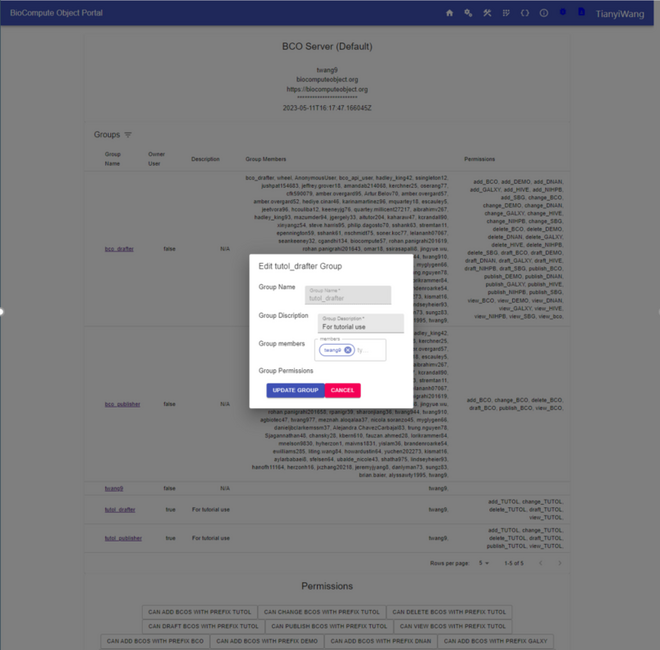
- Click on GROUPS/PERMISSIONSIn the picture above, TUTOL is the prefix that the user registered so that under GROUPS/PERMISSIONS, both "tutol_drafter" and "tutol_publisher" appeared.
- Click on the groups name that's owned by the user to edit group information and permission.
- Add Group members by entering the user names and edit Group Description as needed. Once finished, click UPDATE GROUP, otherwise, click on CANCEL.
